
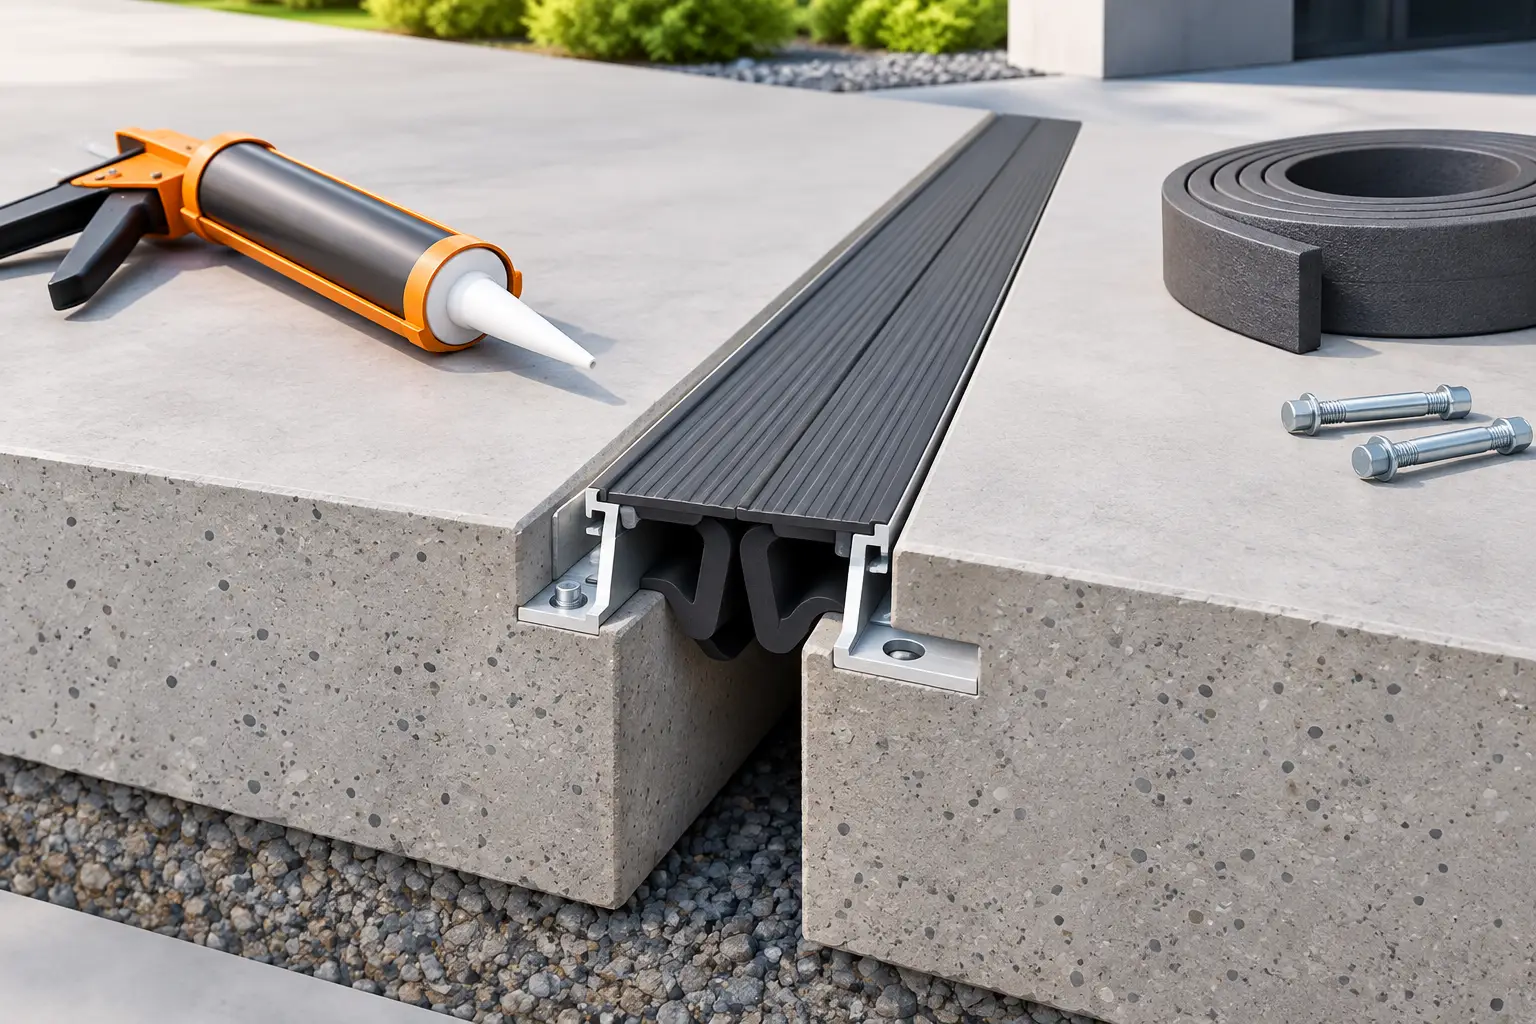
Concrete is tough, but it is not immovable. A driveway, patio, sidewalk, or slab expands in heat, shrinks as it cures, and shifts with soil movement. Knowing how to install expansion joints in concrete gives that movement a planned location instead of letting it show up as cracked edges, pressure against a wall, or broken slab corners.
For property owners in the Coastal Bend, the details matter. High temperatures, heavy rain, drainage issues, and changing soil conditions all put stress on flatwork. An expansion joint is a small part of the project, but installing it correctly protects the larger investment.
Understand What Expansion Joints Do
An expansion joint is a compressible material placed between a concrete slab and something that will not move with it, such as a foundation wall, column, curb, pool coping, another slab, or fixed equipment pad. It creates a full-depth separation so the concrete can move without bearing directly against the adjoining structure.
Expansion joints are often confused with control joints. They serve different purposes. A control joint is a planned weakened line cut or tooled into the concrete surface to encourage shrinkage cracking to occur in a straight, less noticeable location. An expansion joint physically separates the slab from another fixed element or independently moving concrete section.
Most new concrete work needs both. A driveway may have control joints across its field and expansion joints where it meets the garage foundation, sidewalks, curbs, or existing concrete. Using expansion material throughout an entire slab in place of a proper joint layout is not a substitute for planning the pour correctly.
Choose the Right Expansion Joint Material
The right material depends on the slab, exposure, and joint location. For most driveways, sidewalks, patios, and residential slabs, contractors use preformed expansion-joint filler that is at least as deep as the concrete placement. Common options include fiberboard, foam, rubber, and asphalt-impregnated fiber material.
Fiberboard is widely used and economical, but it should be installed cleanly and protected from excessive water exposure at the surface. Closed-cell foam is flexible, water-resistant, and easier to work around curves or irregular shapes. It is commonly used around foundations, columns, and slab penetrations. For higher-traffic commercial areas or joints requiring a finished sealant, a backer rod and compatible joint sealant may be part of the final assembly.
Do not use scraps of wood, cardboard, untreated lumber, or thin household foam. These materials can rot, compress unevenly, absorb moisture, or leave gaps that allow water and debris into the joint. A joint that looks acceptable on pour day can become a maintenance problem quickly when the material is wrong.
Plan Joint Locations Before the Concrete Arrives
Expansion joints must be positioned before concrete placement begins. Once fresh concrete is flowing, there is no time to redesign the layout. Review the area and identify every place where new concrete will meet a fixed structure or existing slab that should remain independent.
Typical locations include the edge of a driveway at the garage foundation, around porch columns, next to retaining walls, around utility structures, at transitions to existing concrete, and near rigid penetrations. If a slab is placed tight against a masonry wall or foundation, pressure can build as the concrete moves. That pressure may crack the new slab, damage the adjacent edge, or transfer stress into the structure.
On larger placements, joint locations should also work with the pour sequence, reinforcement layout, drainage plan, and finishing process. A joint that interrupts water flow or leaves a low spot can collect water, which is especially problematic in coastal South Texas. The finished slab should still drain as intended after the joint material is installed.
Check Thickness, Depth, and Width
Expansion-joint filler should generally extend through the full depth of the slab. For a 4-inch sidewalk or patio, use material that reaches the subgrade rather than stopping halfway down the concrete. Partial-depth filler does not fully separate the slabs and can allow stress to bridge underneath.
The joint width varies by application and material, but many exterior flatwork joints are commonly about 1/2 inch thick. Wider gaps may be appropriate where greater movement is expected or where existing conditions require it. The goal is not to create the biggest gap possible. The goal is to provide enough compressible space for movement while keeping the finished edge supported and clean.
Set the top of the material slightly below the finished concrete surface if the joint will later receive sealant. Leaving room for a proper sealant bead helps keep out water, sand, weeds, and debris. If no sealant is planned, the material can typically finish flush or just below the surface based on the product and project requirements.
How to Install Expansion Joints Before a Concrete Pour
Start with a compacted, properly graded base and completed forms. The joint material should sit on stable subgrade or base material, not hang in the air. Measure each joint location, cut the material squarely, and dry-fit it before fastening anything in place.
Place the expansion material against the fixed structure or at the planned separation line. Keep it straight and vertical from bottom to top. For curved work, use flexible foam material or make controlled cuts that allow the filler to follow the curve without opening large gaps.
Secure the material so it cannot float, lean, or shift during the pour. Depending on the location, this may mean using temporary stakes, adhesive, form attachments, or fasteners approved for the material. Avoid driving fasteners where they will interfere with a waterproofing system, visible finished surface, or structural element.
Before placing concrete, inspect the joint line one more time. It should be continuous, full depth, and free of openings at corners. A small missing section can let concrete bridge the gap, defeating the purpose of the joint.
As concrete is placed, workers should avoid pushing the filler out of position with rakes, shovels, or vibrating tools. Consolidate and finish the concrete along the joint carefully. Do not smear concrete over the top of the material, and do not create a thin, weak edge that will break away under tires or foot traffic.
Installing Expansion Joints Between New and Existing Concrete
When new concrete meets an existing driveway, sidewalk, or slab, clean preparation is critical. Remove loose concrete, dirt, old sealant, and debris along the existing edge. If the old slab edge is badly damaged, it may need repair before the new work is placed. Expansion material cannot correct an unstable or crumbling edge.
Set full-depth filler against the existing slab, keeping the joint line consistent. The new concrete should not be tied rigidly into the old slab unless an engineer or project-specific design calls for dowels or another connection method. Doweling and expansion are not interchangeable decisions. A tied connection changes how the slabs move and should be planned for load transfer, elevation control, and cracking risk.
For driveways and commercial paving, the transition also needs to account for vehicle loads. Unsupported edges can chip under repeated traffic. Proper base preparation, concrete thickness, reinforcement where specified, and a straight joint line all work together to protect the edge.
Seal the Joint When Exposure Calls for It
Not every expansion joint needs sealant, but exposed exterior joints often benefit from it. Sealant reduces water intrusion and prevents dirt, gravel, and plant growth from filling the space. This is especially useful at driveways, sidewalks, patios, and slabs near buildings where water can reach the base or foundation area.
Allow the concrete to cure as required before applying sealant. Clean the joint thoroughly and install backer rod at the correct depth when needed. The backer rod supports the sealant and helps it stretch and compress properly instead of bonding to the bottom of the joint.
Use a sealant designed for concrete joints and outdoor exposure. The sealant must remain flexible after curing. Rigid patching compounds, mortar, or ordinary caulk may crack or pull away as the slabs move. Follow the product’s surface-preparation, temperature, and curing instructions rather than applying it on a damp or dirty joint.
Common Expansion Joint Mistakes to Avoid
The most common failure is treating expansion joints like an afterthought. When filler is installed only at the surface, concrete bridges beneath it. When it is placed crooked, gaps open at the edges. When the wrong material is used, the joint breaks down before the slab has had time to prove its durability.
Another mistake is confusing expansion joints with control joints. A slab still needs properly spaced control joints to manage curing shrinkage. Expansion filler at the perimeter will not stop random cracking across a large slab.
Water management is also part of the decision. If an unsealed joint channels water beneath the slab and the base is poorly compacted or drainage is inadequate, settling can follow. The joint is doing its job by allowing movement, but the overall installation still needs sound site preparation.
When to Bring in a Concrete Contractor
A small patio joint can be manageable for an experienced homeowner with the right materials and a straightforward layout. Driveways, foundations, commercial pads, parking areas, and slabs adjoining buildings require more planning. Thickness, reinforcement, joint spacing, drainage, soil condition, and access for concrete trucks all affect the finished result.
Haylo Construction handles concrete work with the full site in mind, from grading and base preparation to joint layout, placement, and finishing. For projects in Corpus Christi and the surrounding Coastal Bend, a clear plan before the pour is the best way to avoid preventable cracking, drainage issues, and costly rework.
A properly installed expansion joint is not flashy, but it is proof that the concrete was built to move the way concrete naturally moves. Plan it early, use full-depth material, and keep the joint clean so the slab has room to perform for years.