
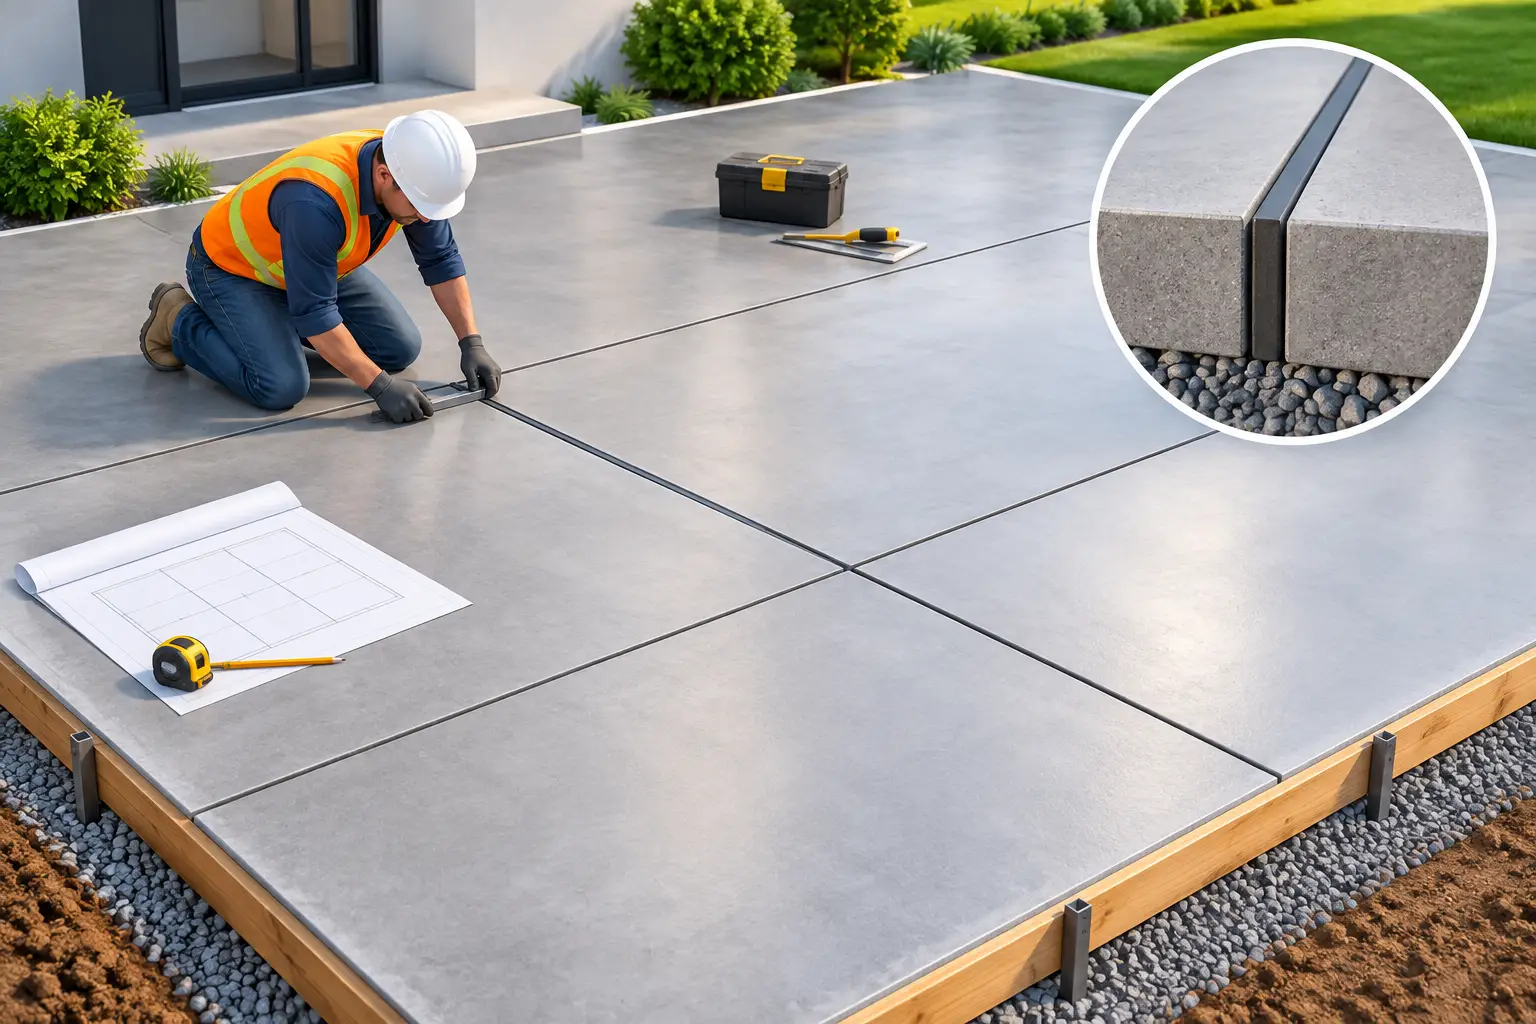
A new driveway or slab can have good finish work, proper reinforcement, and a solid base, then still develop a random crack across the surface. Concrete shrinks as it cures. The purpose of this concrete control joint placement guide is to help property owners understand where that movement should be managed before the concrete is poured.
Control joints do not prevent concrete from cracking. They create a planned weak point that encourages cracking to occur in a straight, less noticeable line. When joints are laid out correctly, the slab performs better, looks cleaner, and is easier to maintain over time.
Why Control Joint Placement Matters
Fresh concrete contains more water than it will keep after curing. As excess moisture leaves the slab, the concrete shrinks. At the same time, the slab is restrained by its own weight, the subgrade, walls, columns, curbs, or existing concrete. That restraint creates tension, and concrete has limited tensile strength.
Without a proper joint pattern, the slab will usually choose its own path for release. Those cracks often run diagonally from inside corners, across driveway sections, or through visible patio areas. A well-planned control joint gives the crack a preferred path before stress builds beyond what the slab can handle.
Joint placement is not just a finish detail. It needs to be planned with the slab thickness, reinforcement, traffic loads, drainage, edges, and the shape of the pour. For commercial paving and larger pads, layout also needs to account for building lines, equipment bases, loading areas, and areas that may receive future additions.
Concrete Control Joint Placement Guide: Start With Panel Size
The first rule is to keep slab panels close to square. Long, narrow rectangles are more likely to crack because shrinkage stress has more distance to build along the longer dimension.
For many residential flatwork projects, a practical starting point is joint spacing equal to 2 to 3 times the slab thickness in feet. A 4-inch-thick driveway or patio slab commonly uses joints spaced about 8 to 12 feet apart. A 5-inch slab may allow roughly 10 to 15 feet between joints, depending on the layout, concrete mix, reinforcement, and expected use.
These measurements are guidelines, not a substitute for a project-specific layout. A driveway that turns, widens, connects to a garage, or wraps around landscaping may need shorter panels than a simple rectangular patio. Heavy-duty commercial concrete may also need a more deliberate joint plan based on vehicle loads and slab design.
As a general layout rule, the longest side of a panel should not be more than about 1.5 times the shortest side. For example, a 10-by-10-foot panel is preferable to a 5-by-20-foot panel. When a rectangular panel cannot be avoided, adding a joint to reduce the long dimension is usually the better approach.
Place Joints Where Cracks Are Most Likely
Re-entrant corners are one of the most common starting points for random cracks. These are inside corners created by turns, offsets, utility pads, planter boxes, garage corners, or transitions in slab shape. Stress concentrates at those points, so joints should extend from the corner whenever possible.
A control joint layout should also account for these conditions:
- Changes in slab width, such as where a driveway flares near the street or garage
- Columns, walls, footings, drains, and other fixed objects that restrain movement
- Intersections between new concrete and existing slabs, curbs, or foundations
- Sharp angles, L-shaped pours, and narrow strips of concrete
Avoid placing a joint randomly just to meet a spacing number. The joint needs to create logical panels and lead stress away from vulnerable areas. A straight joint line that starts at an inside corner and continues across the slab is often more effective than several short joints that stop before relieving the stress point.
For driveways, control joints are commonly placed perpendicular to the direction of travel. This creates manageable panels and reduces the appearance of long cracks running the full length of the drive. At a garage approach, the layout should account for the transition at the foundation and avoid trapping an awkward, narrow panel near the door.
Get the Joint Depth and Timing Right
A control joint must be deep enough to work. The standard target is at least one-quarter of the slab thickness. On a 4-inch slab, that means a control joint depth of at least 1 inch. For a 6-inch slab, the joint should be at least 1.5 inches deep.
Joints can be tooled into fresh concrete, formed with an insert, or cut with a saw after the surface has set. Each method can work when performed properly. Tool joints are common for patios and sidewalks, while saw cuts are often preferred for driveways, larger slabs, and commercial work because they provide straighter, more consistent lines.
Saw-cut timing matters. Cut too early and the concrete surface can ravel or chip. Wait too long and shrinkage cracks may appear before the joints are installed. Conditions in the Coastal Bend can speed or slow set times depending on heat, wind, humidity, and the mix design. There is no single clock time that fits every pour. The concrete needs to be monitored closely, and cuts need to be made when the slab is firm enough to hold the line but before uncontrolled cracking begins.
Do Not Confuse Control Joints With Expansion Joints
Control joints, also called contraction joints, direct shrinkage cracking within a continuous slab. Expansion or isolation joints serve a different purpose. They separate concrete from walls, foundations, columns, drains, or adjacent slabs so the new concrete can move independently without pushing against a fixed structure.
A driveway poured against a garage foundation, for example, generally needs an isolation joint at the building. That joint is not a replacement for control joints across the driveway itself. Both may be required for the slab to perform as intended.
Construction joints are another separate category. These occur where a pour stops and resumes later. A properly planned construction joint may also function as a control joint, but it needs to be designed and placed intentionally. Stopping a pour in the middle of a large panel without a plan can create a weak, unattractive line.
Reinforcement Helps, but It Does Not Replace Joints
Rebar, welded wire reinforcement, and fiber reinforcement can improve slab performance when selected and installed correctly. They help hold cracks together, distribute loads, and reduce the risk of vertical movement at cracks. They do not eliminate concrete shrinkage or remove the need for control joints.
The same is true of a thicker slab. Added thickness can improve load capacity, especially for vehicle areas, equipment pads, and commercial traffic. But a thick slab with poor joint layout can still crack in the wrong place.
Long-term performance starts below the concrete as well. Proper grading, compacted base material, and drainage keep the slab supported. In South Texas, soft or shifting soils, heavy rain events, and coastal moisture make site preparation especially important. A joint plan cannot correct a poorly prepared base or water that repeatedly drains beneath the slab.
Common Placement Mistakes to Avoid
One frequent mistake is spacing joints too far apart because fewer lines look cleaner at first. That approach often leads to a more visible random crack later. Another is creating very small slivers of concrete near corners, curbs, or walls. Narrow pieces are difficult to finish, prone to cracking, and more likely to move independently.
Joints should also be continuous and clean. A joint that fades out, changes direction without reason, or stops short of a stress point may not control cracking effectively. Decorative saw cuts should never be treated as structural jointing unless they meet the proper depth and layout requirements.
Finally, do not assume an existing joint pattern can simply be copied onto a new slab. The shape of the new pour, connection points, slope, and use may be different. Every project should be laid out before concrete arrives, not improvised after finishing begins.
A good joint pattern is one of the quiet details that separates a slab built for appearance on day one from one built for years of service. If your driveway, patio, parking area, or equipment pad needs concrete work, Haylo Construction can evaluate the site, drainage, thickness, reinforcement, and joint layout before the pour begins. The right plan gives the concrete a better place to move when it needs to move.